|
|
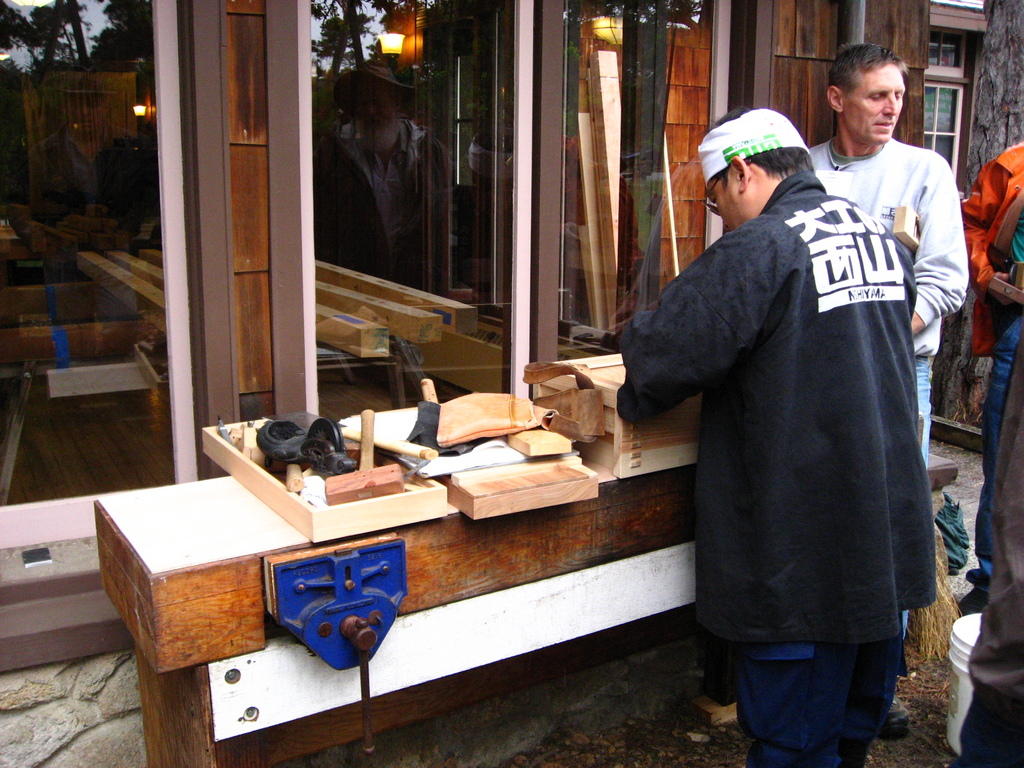
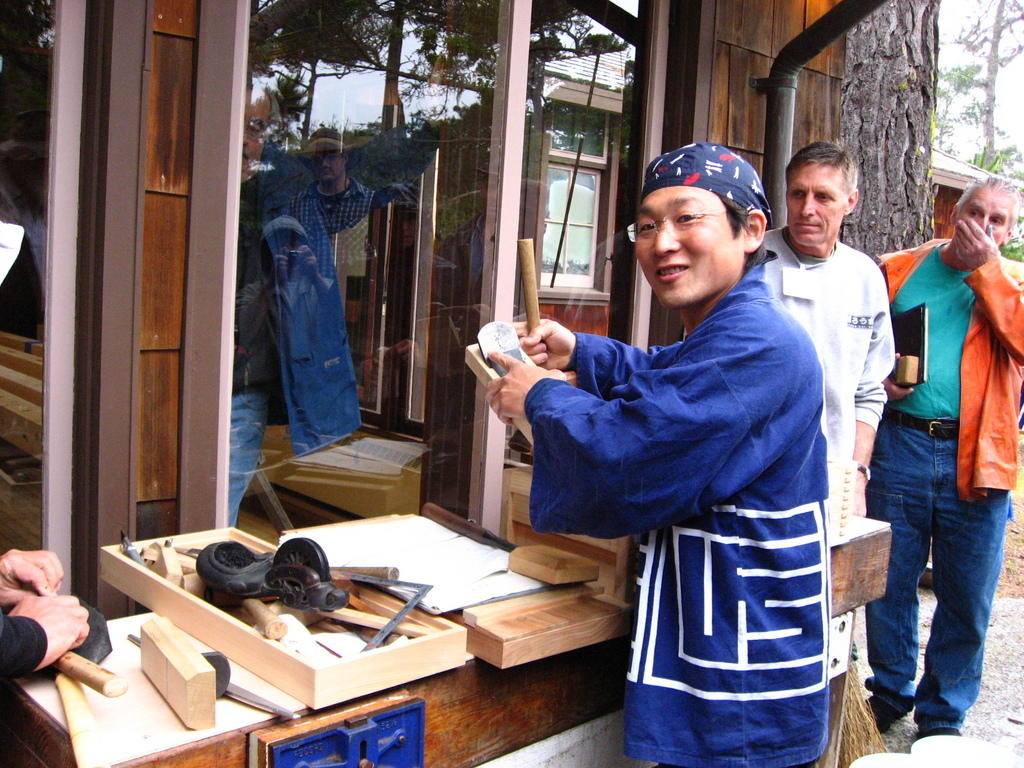
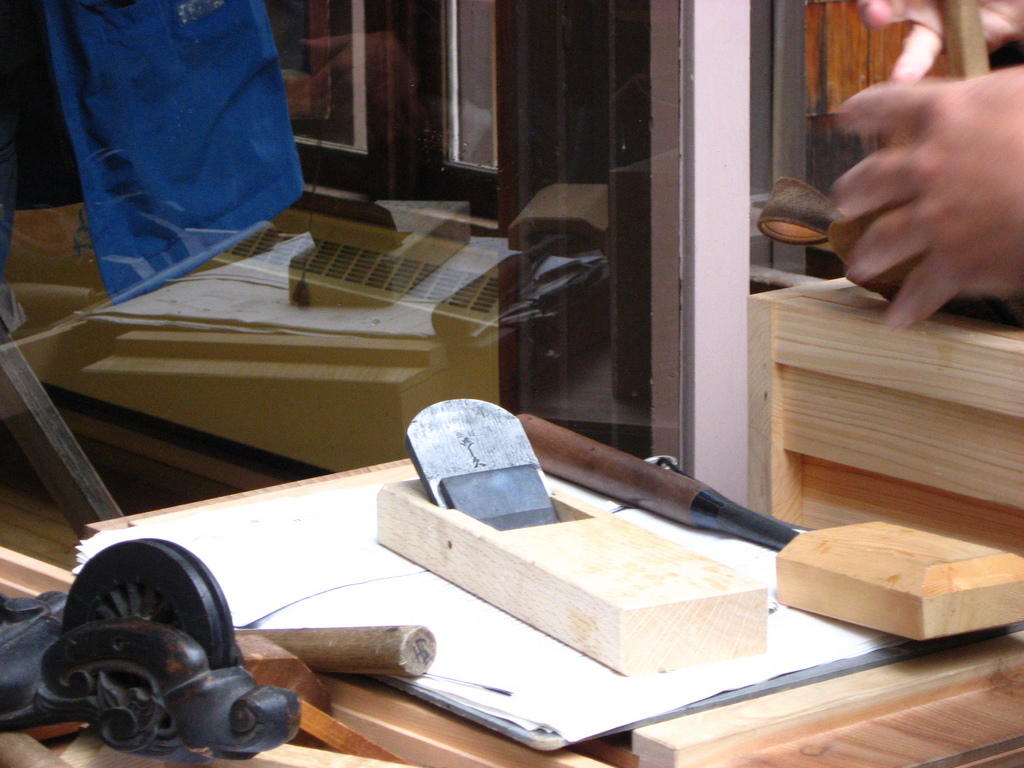
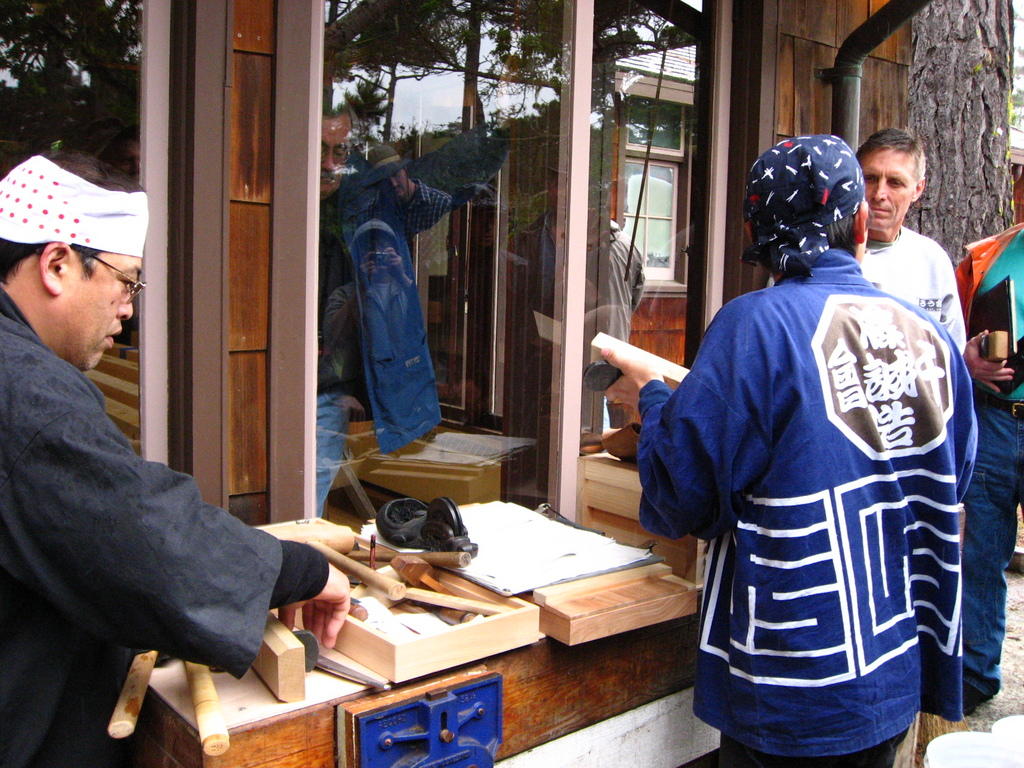
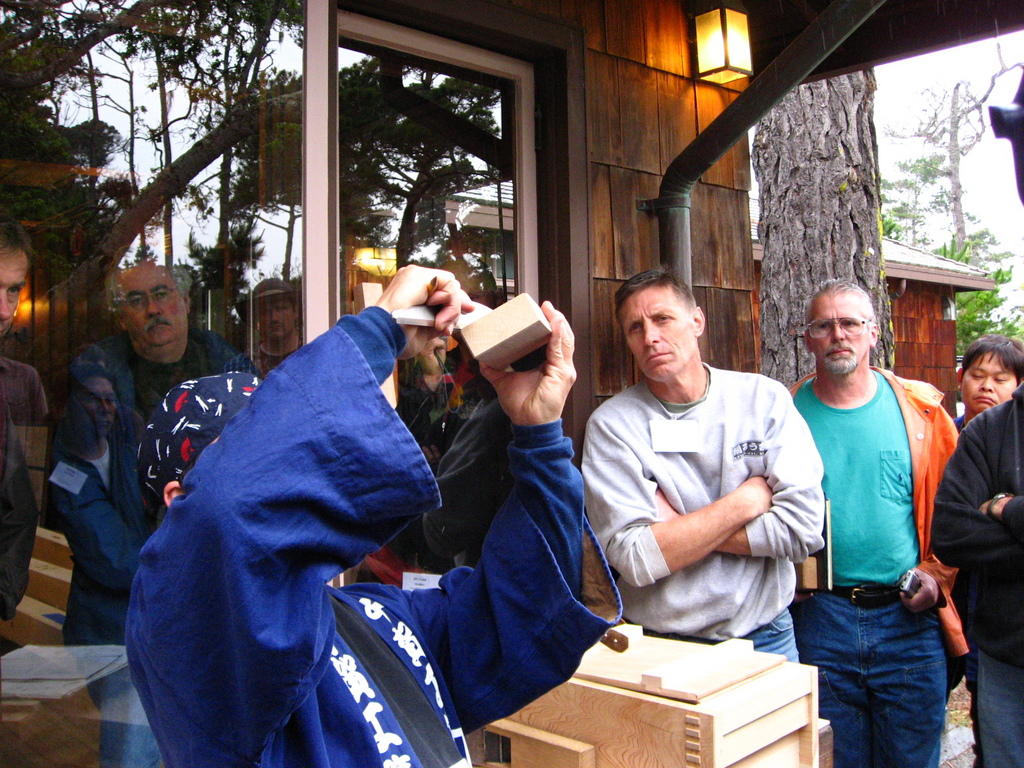
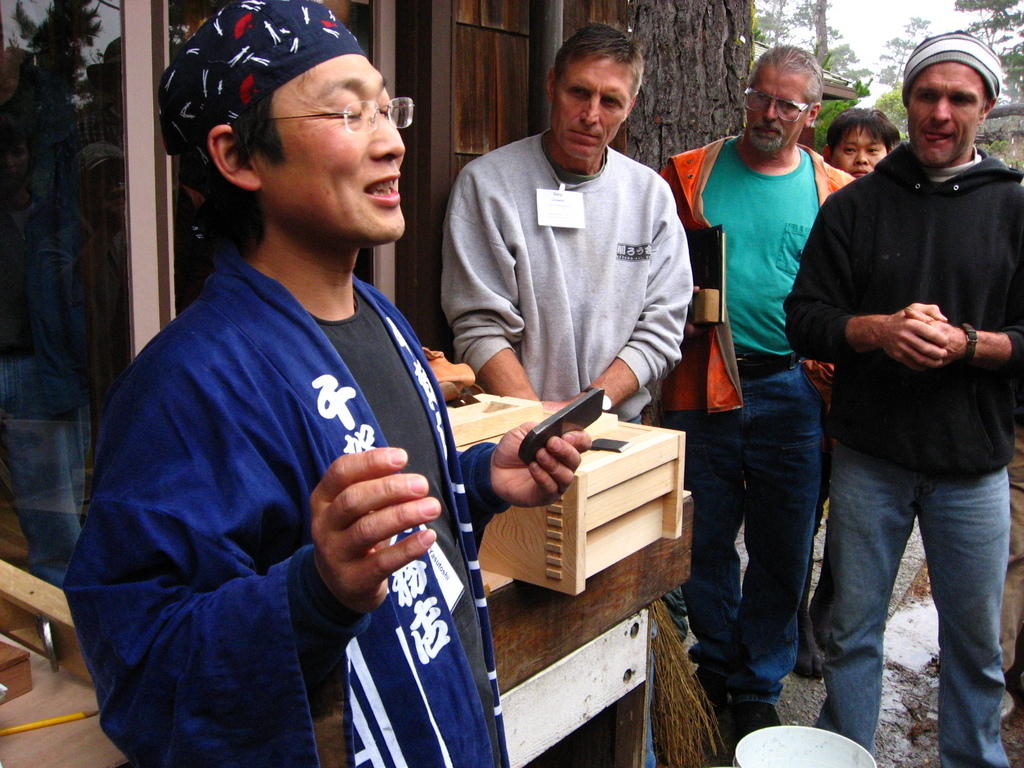
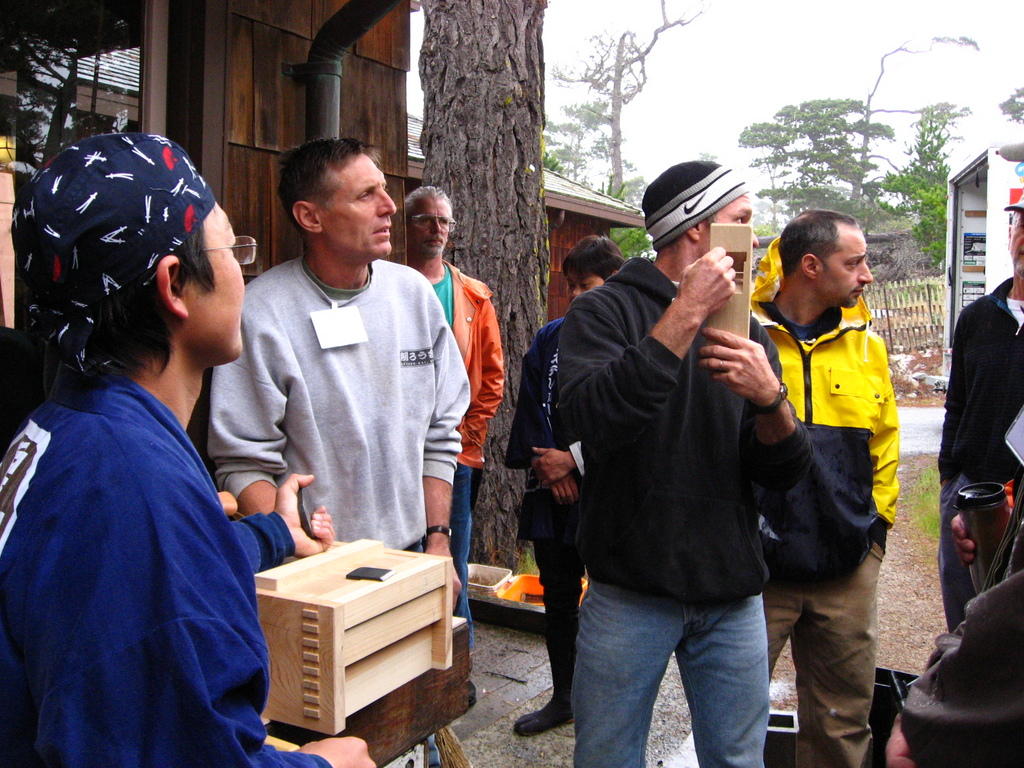
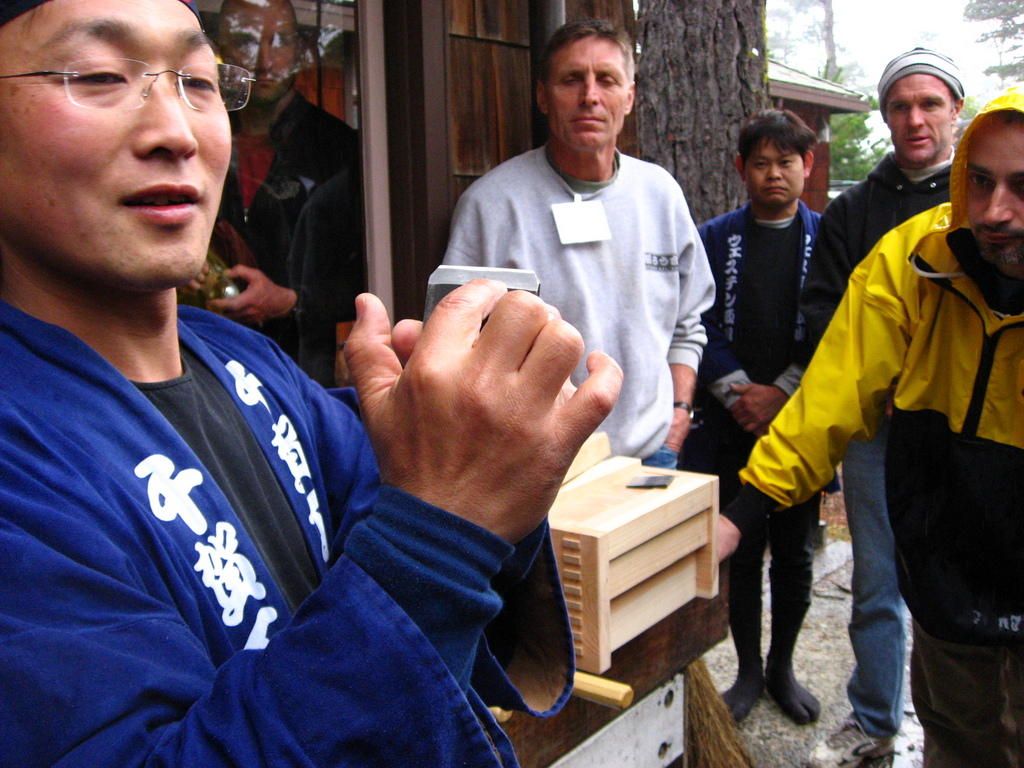
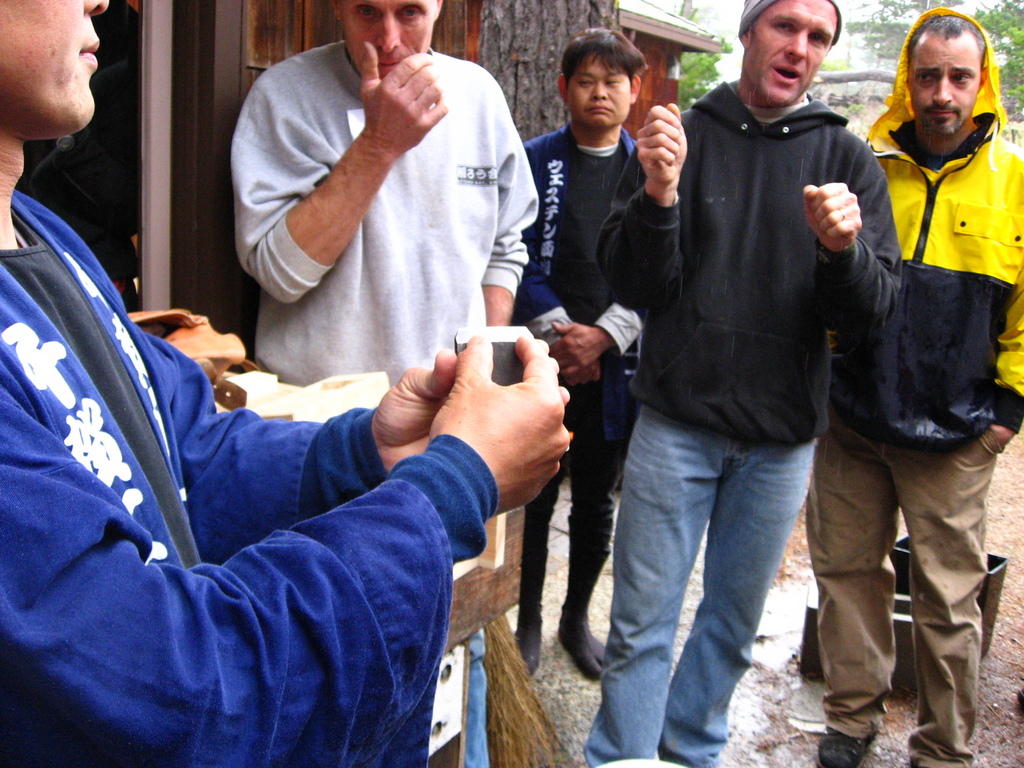
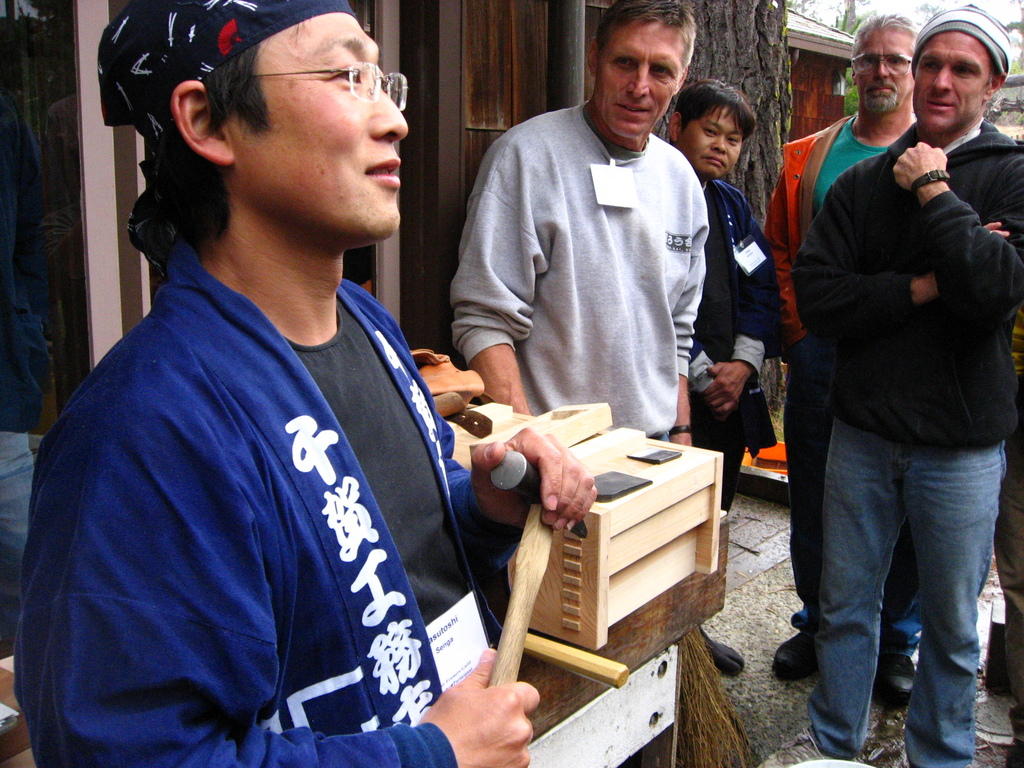
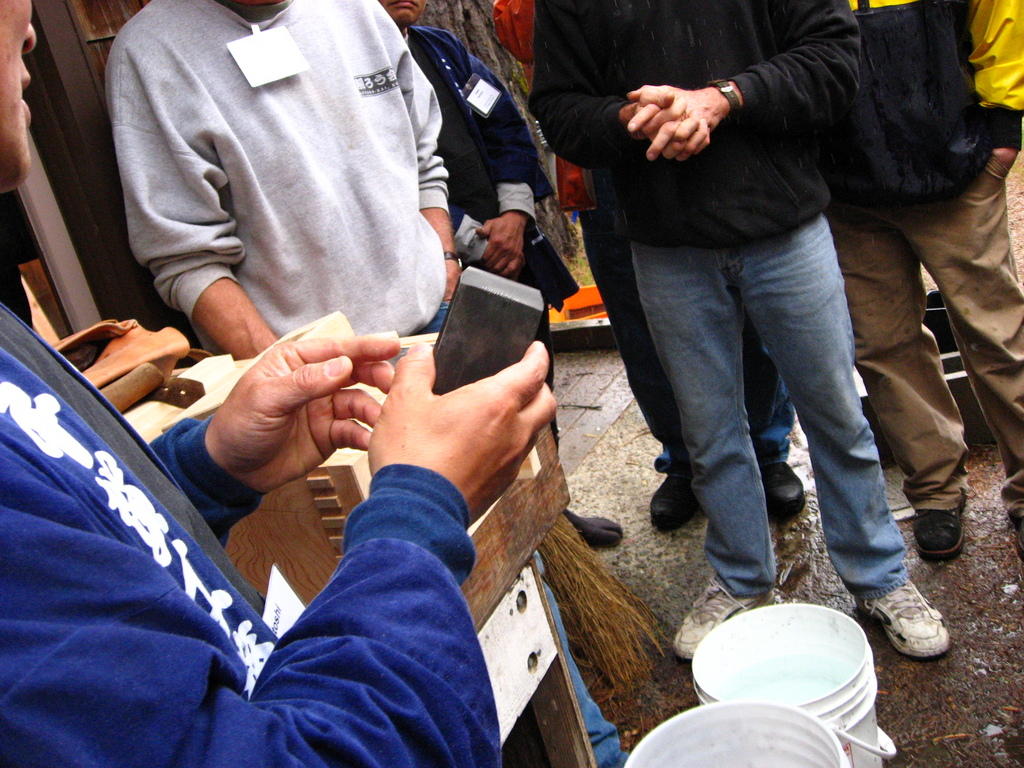
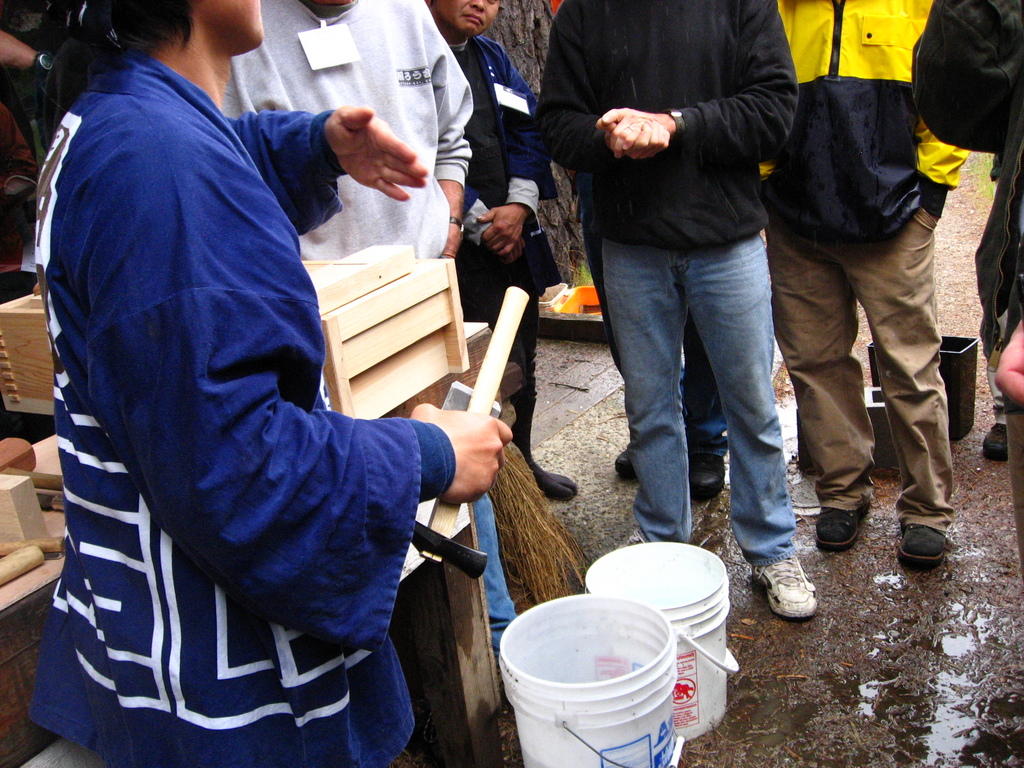
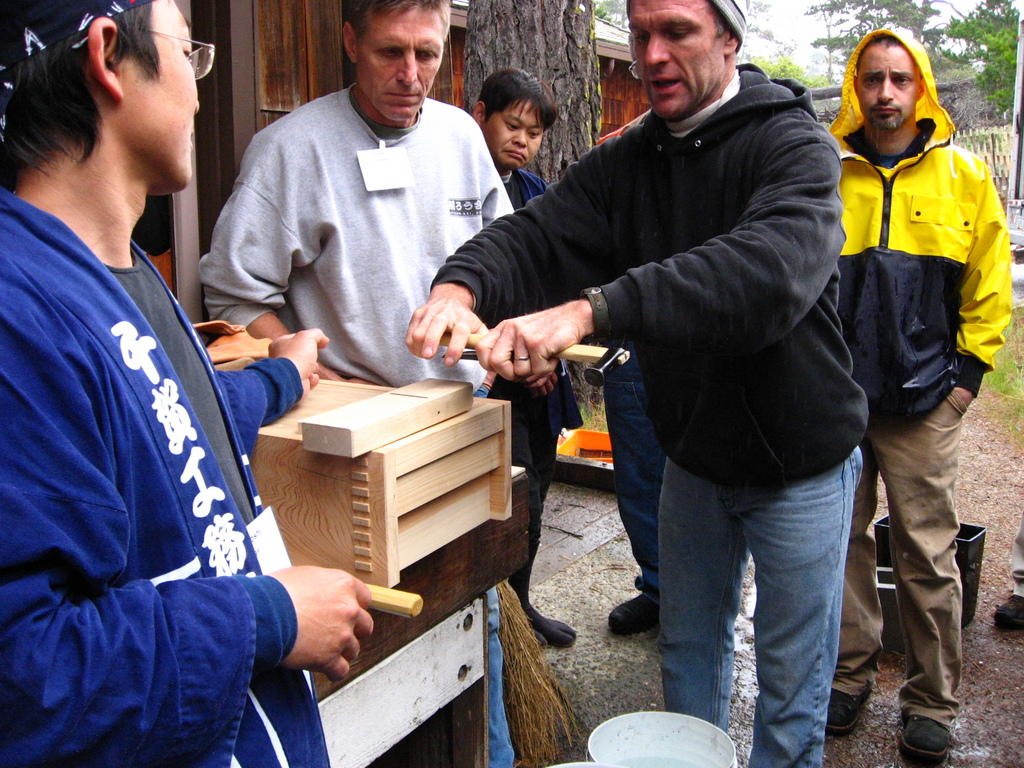
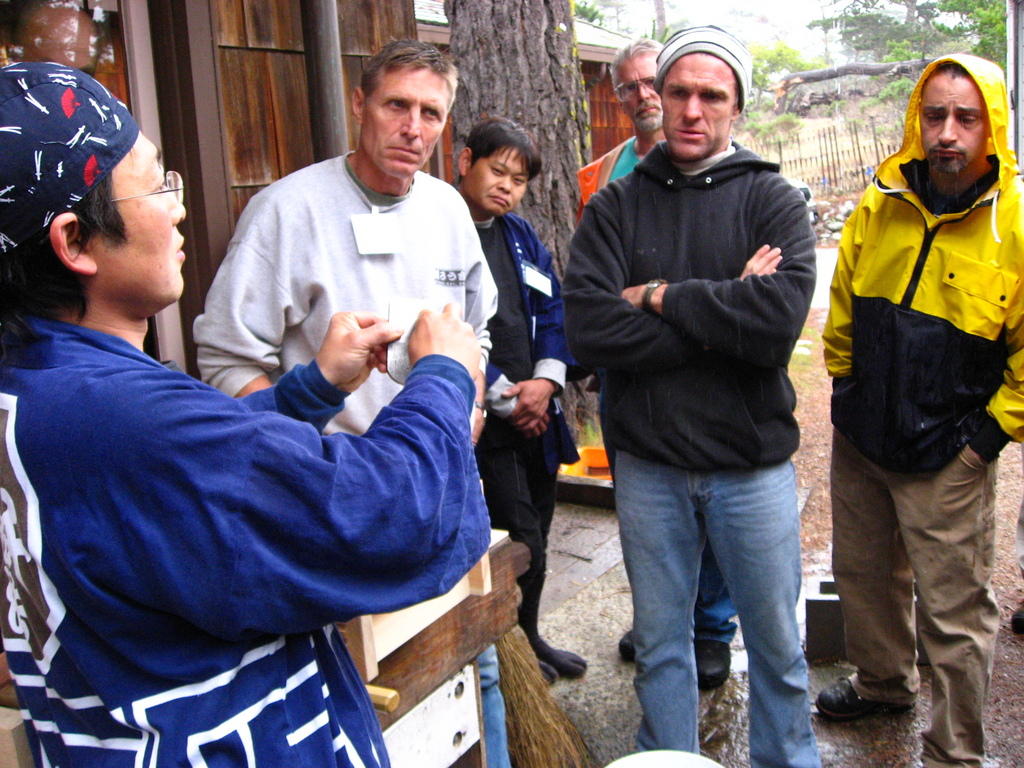
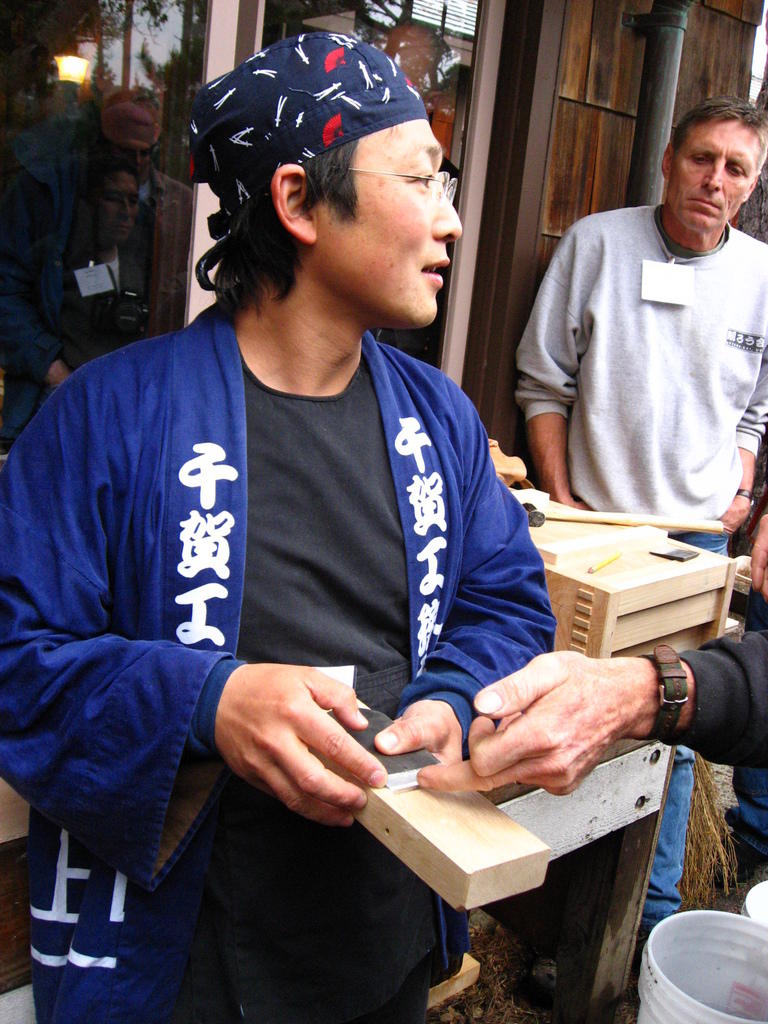
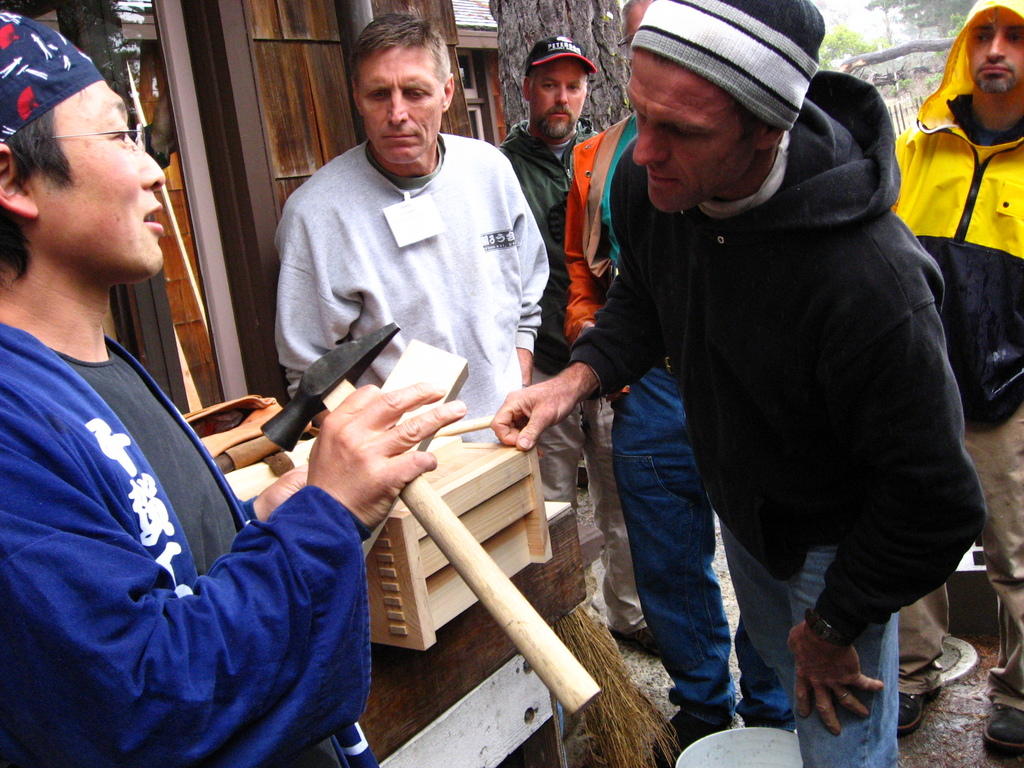
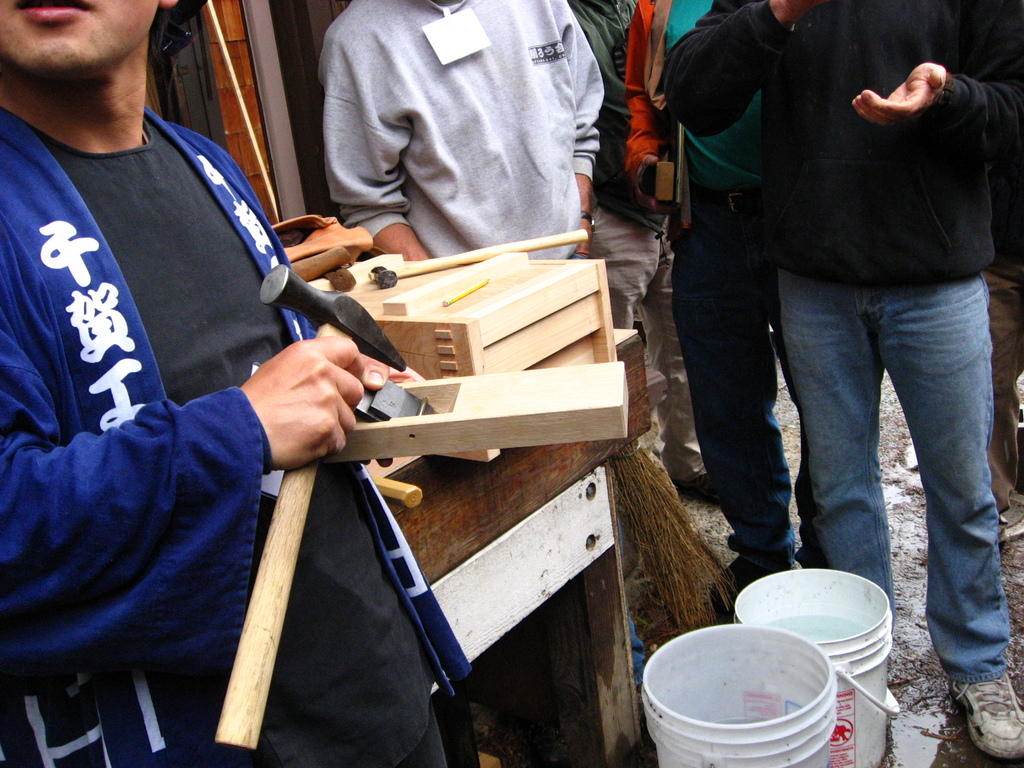
1, 2, 3, 4 - Use the scraper in a circular motion. Scraper soles are also conditioned similarly to the plane's dai. |
|
|
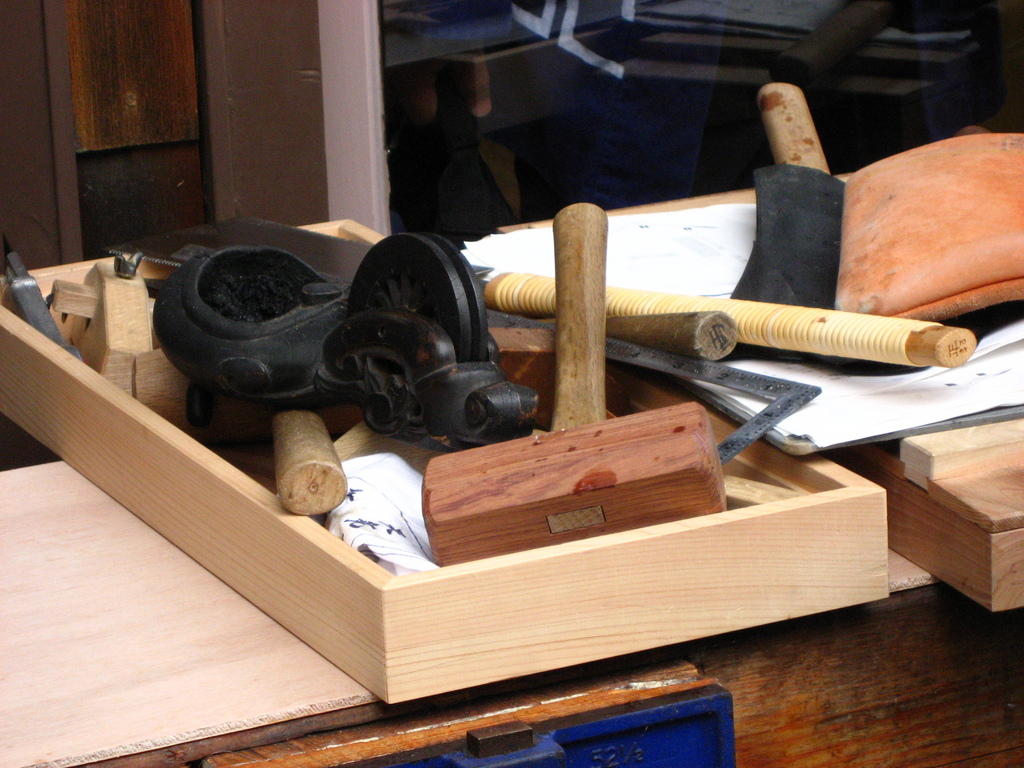
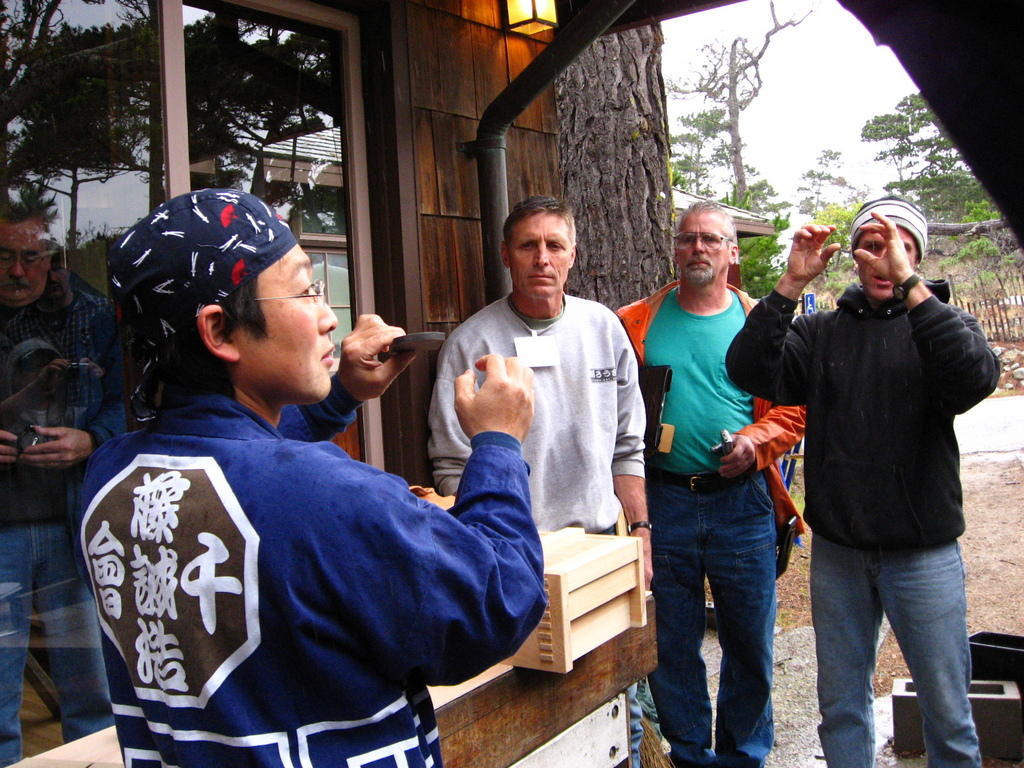
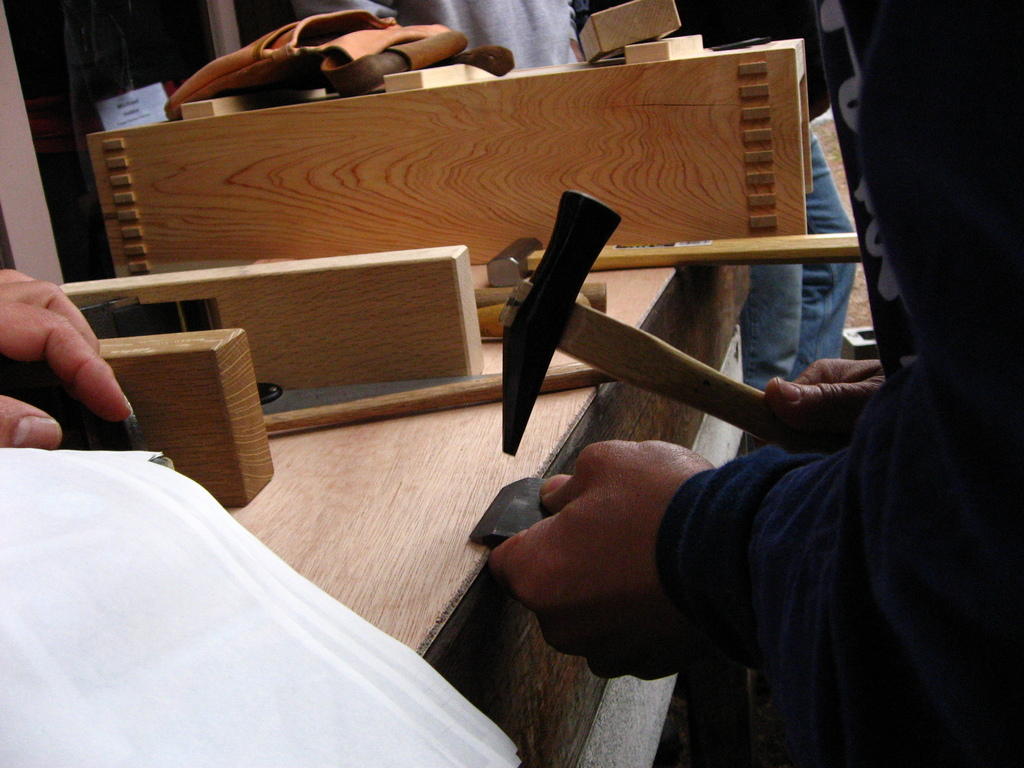
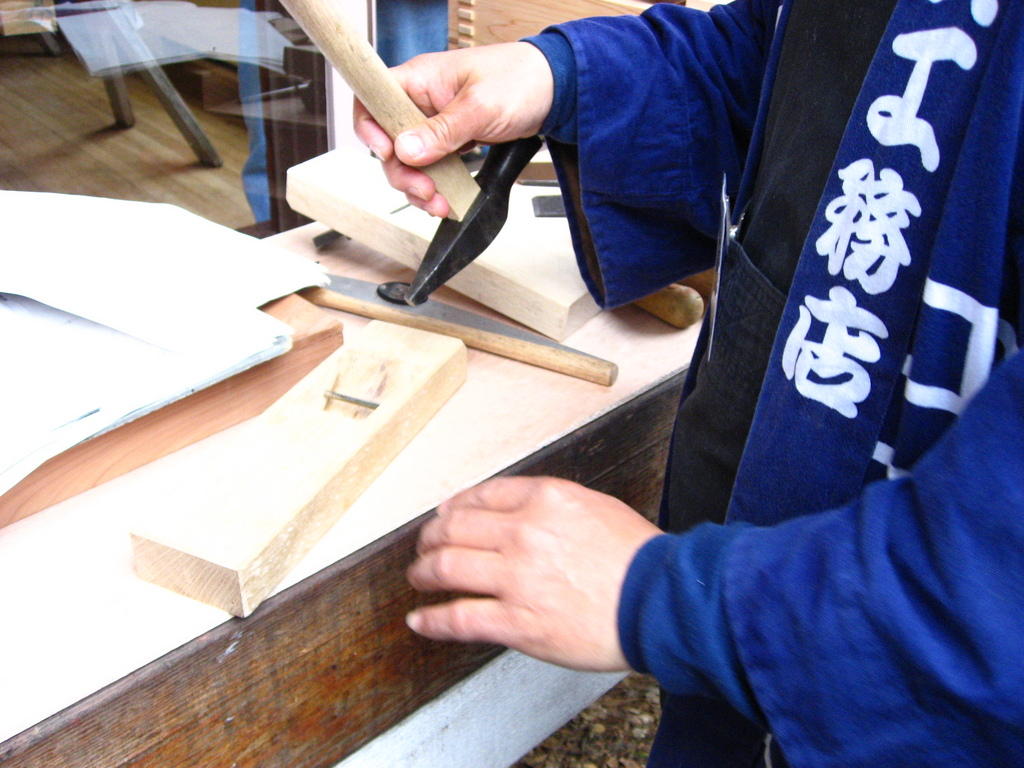
5 |
|
|
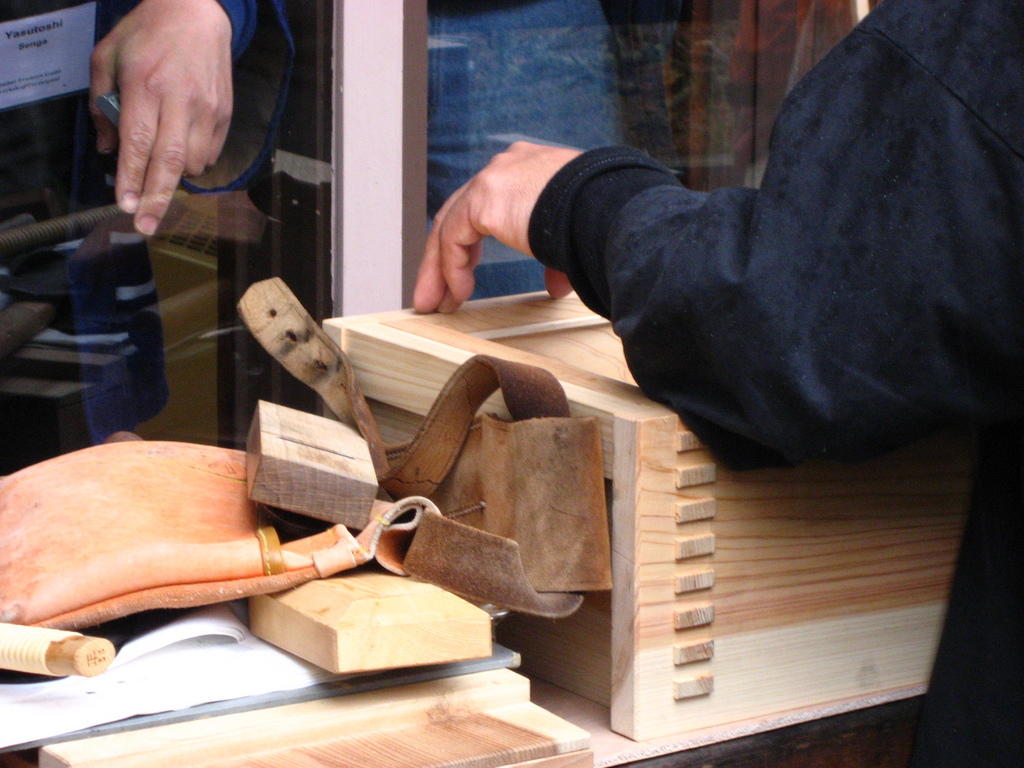
6 |
|
|
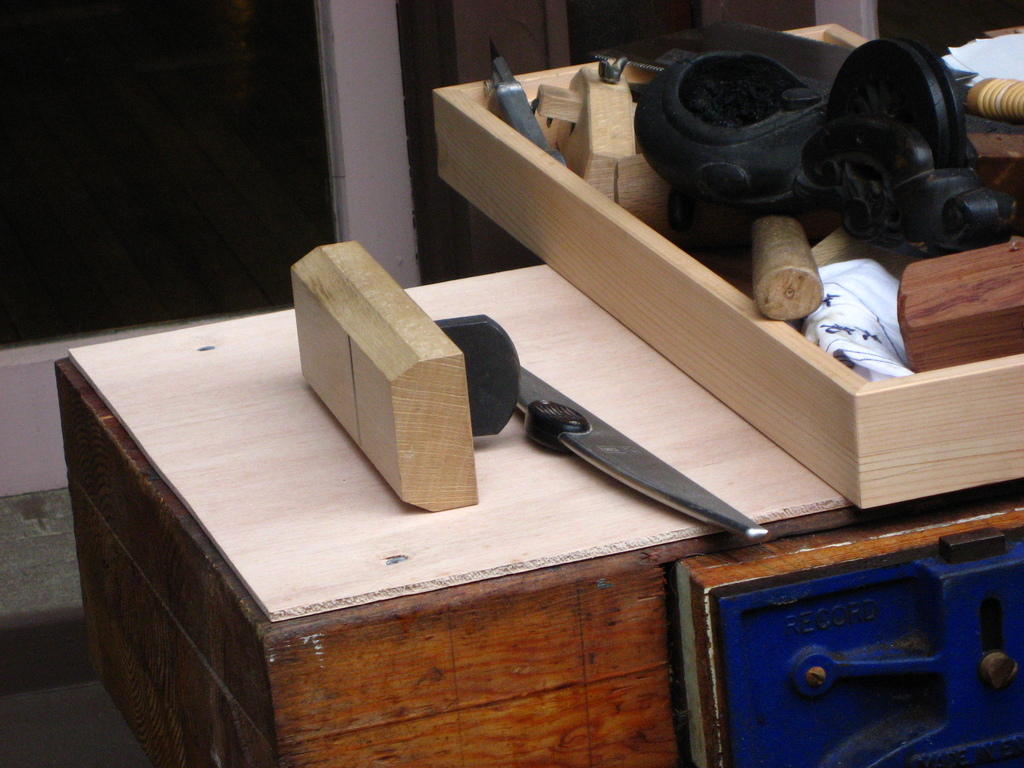
7 |
|
|
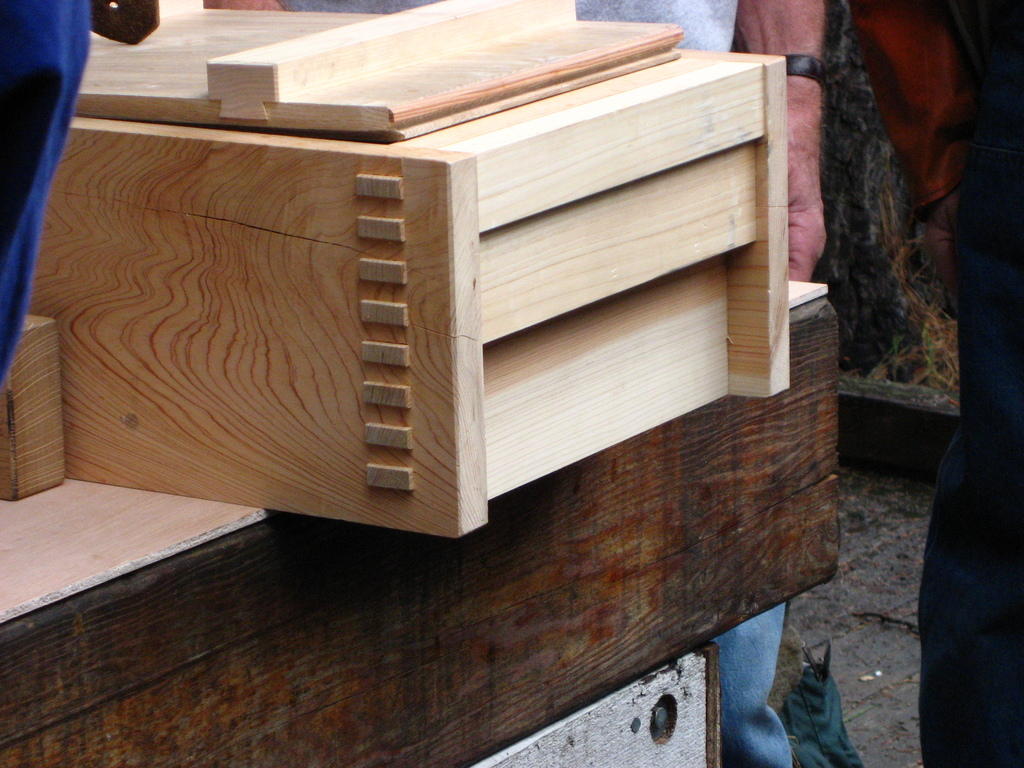
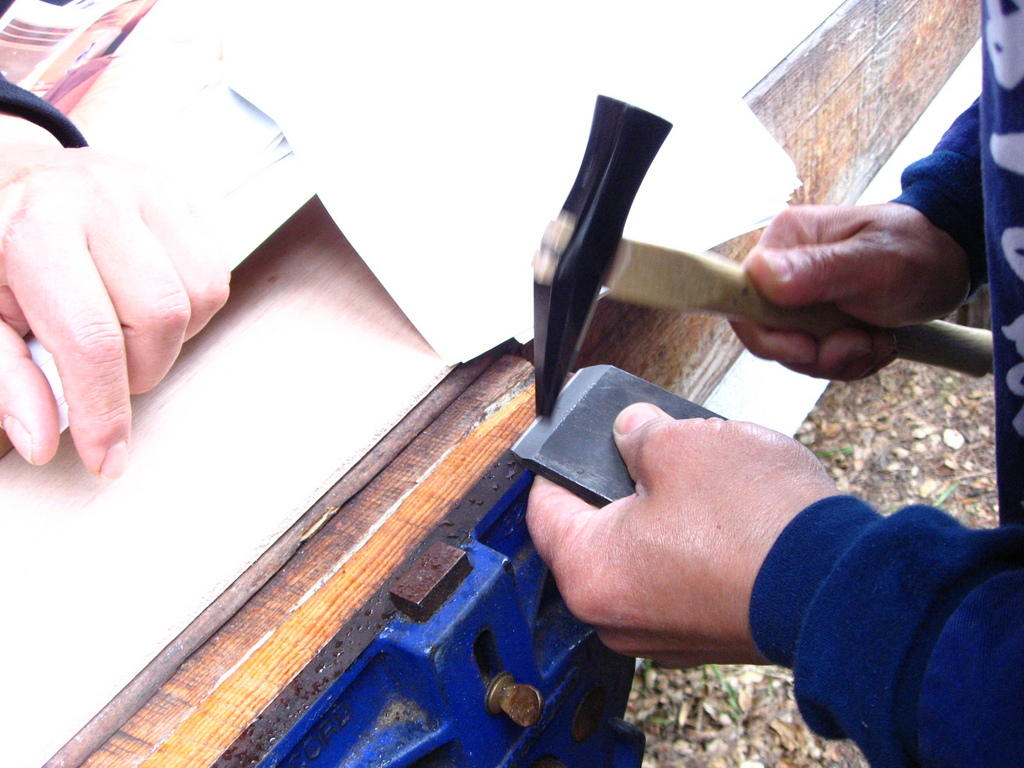
8, 9 - Some notes:- Flatten the back (ura) for both the main blade and the chip breaker. This is the most important step and has to be done first.
- When main blade and chip breaker are put together, should not see any light between them, otherwise wood shavings will get trapped in between.
- For fitting the main blade to the dai, remove wood on the bedding angle using a chisel. This is the method they prefer, instead of scraping with a file.
- From his experience, if you strike the dai with a wooden mallet 3 times from 12 inches away, then it's tight enough.
- To ensure flatness of the sole, check with winding sticks. Then use a wide plane and plane the sole flat.
|
|
|
10 |
|
|
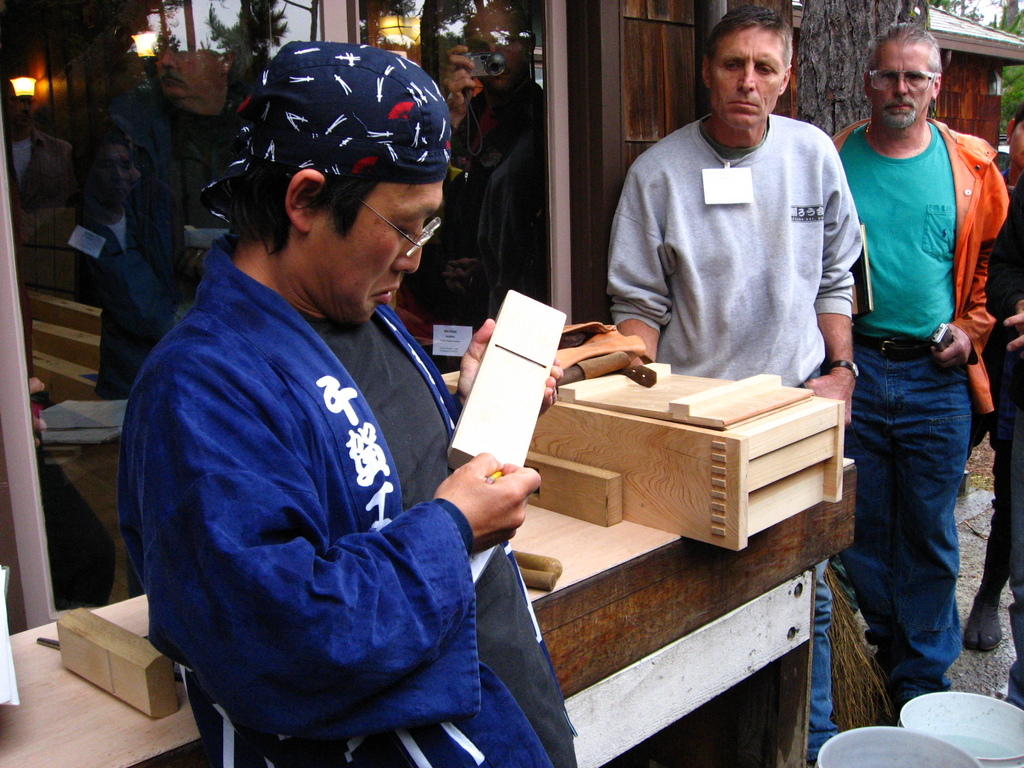
11, 12 - For contact points, aim for a contact area about 3/8" long at front of dai and 1/8" infront of blade. |
|
|
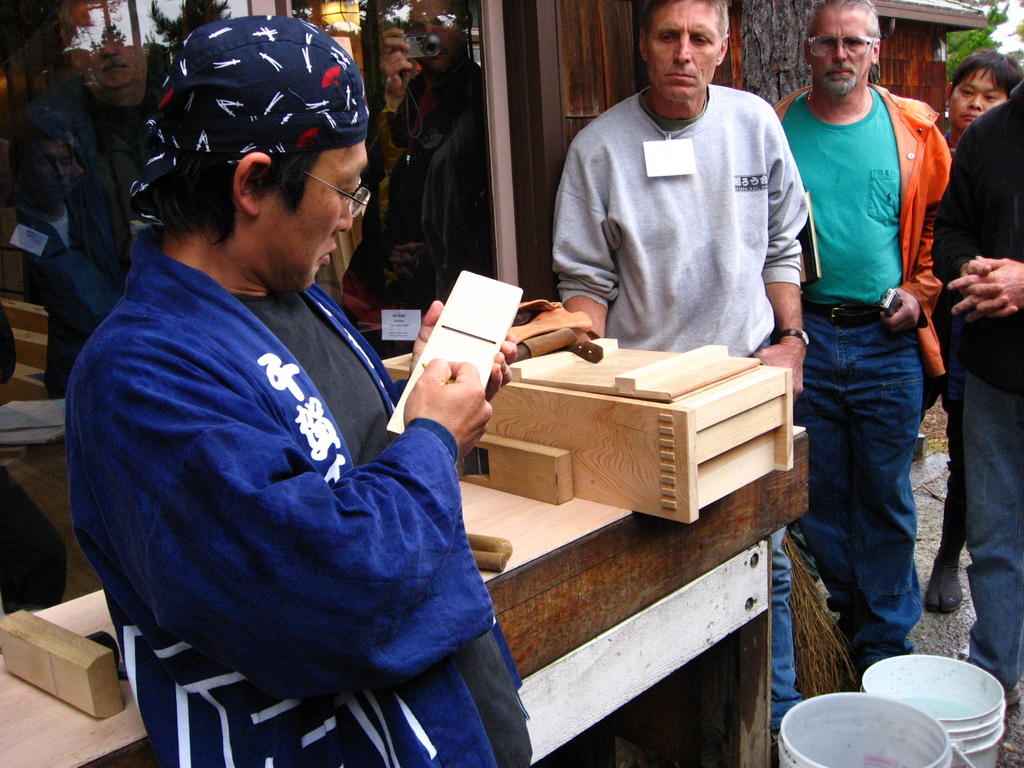
13, 14, 15 - The gap between the contact points (infront of the blade) is about 3 newspaper thick, and 2 newspaper thick behind blade (Note to self: This seems rather thick. It's probably lost in translation.) |
|
|
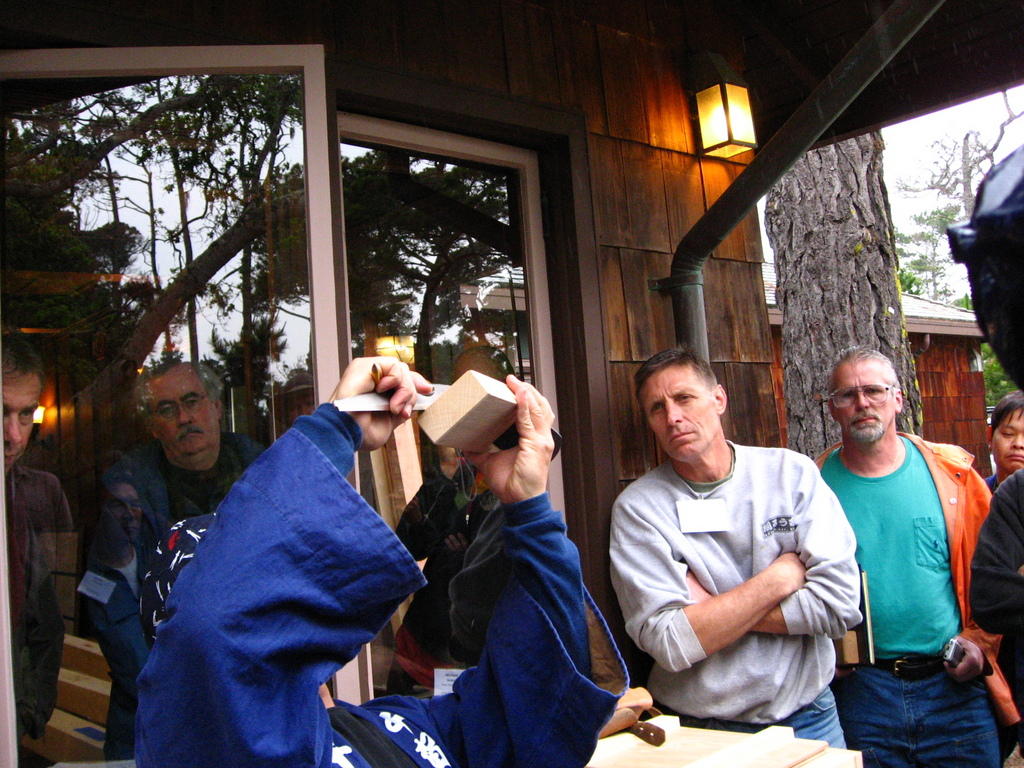
16 - When both main blade and chip breaker are set in the dai, the space between them should be just a hair. Senga-san prefers a small flat on the ura - about 1/16" or so. The wider it is, the harder it is to take off the burr. A small flat allows it to make contact with the stone more easily and reduces the sharpening effort. |
|
|
17, 18, 19 |
|
|
20, 21, 22 |
|
|
23 - Uradashi - pushing out of the hard steel, is done with a large funate (boat) hammer. Hit only the lower part of the soft steel. Avoid performing uradashi when it's cold, or put blade in hot water first. |
|
|
24, 25 |
|
|
26 |
|
|
27 |
|
|
28 |
|
|
29 |
|
|
30, 31 - Flattening the ura using a wooden stick to apply pressure. Be sure to apply pressure evenly. |
|
|
32 |
|
|
33 |
|
|
34 |
|
|
35, 36, 37 |
|
|
38, 39 - If pin is too tight, use this technique to "stretch" out the pin a little bit more. |